You can offset your Support line of the diaphragm to work around geometry. This can be used for openings in the diaphragm, or it can be used to accommodate smaller sections that are not bound by shear walls directly on each edge.
Example: Support Located Outside the Diaphragm
This example shows how reactions are calculated when a support is placed outside the diaphragm boundary.
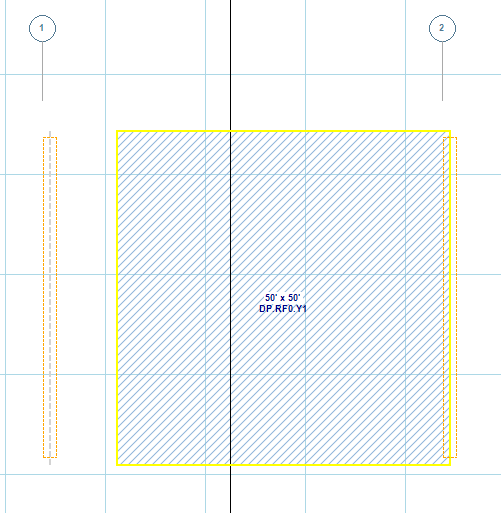
A diaphragm is modeled as 50 ft wide. One support is located 10 ft outside the diaphragm, as shown below.
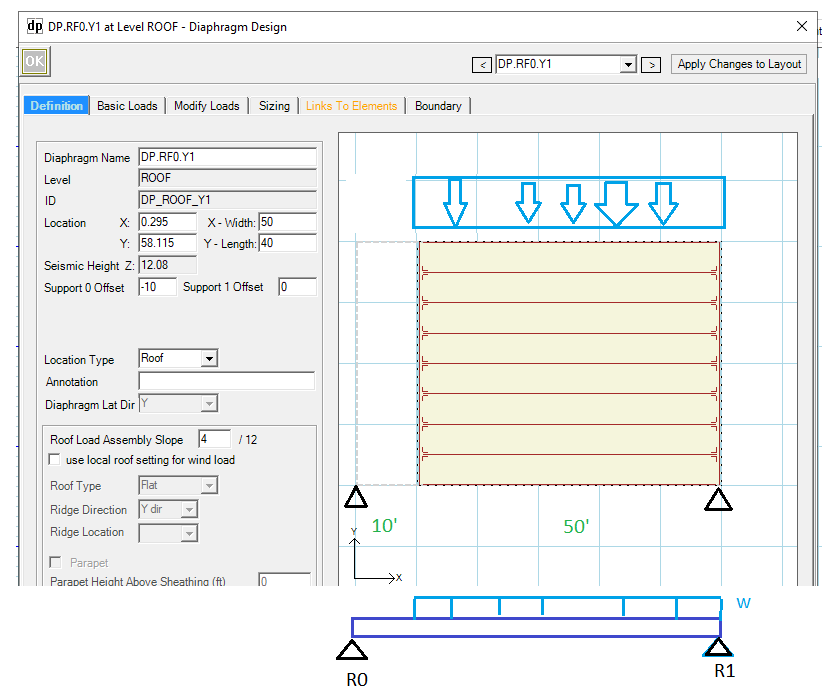
When a support lies outside the diaphragm, the program uses the full distance between supports as the span. In this case, the effective span is:
50 ft + 10 ft = 60 ft
Given a uniform load
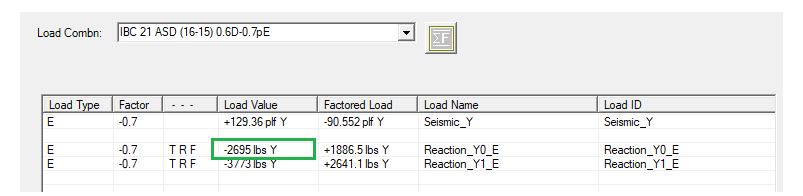
w = 129.36 plf
Total load on the diaphragm:
129.36 × 50 = 6,468 lb
To calculate the reaction at R0, take moments about R1:
R0 = (6,468 × 25) / 60 = 2,695 lb
Although the diaphragm width is only 50 ft, placing a support outside the diaphragm increases the effective span used in the reaction calculation.
As a result, the reactions change when the support location changes. In this case, the reaction decreases due to this offset.