Hot keys are designed to help you work faster and stay focused on your model. They provide quick access to common commands so you can spend less time clicking through menus and more time designing.
You can use hot keys to create, edit, and navigate elements throughout the program. Most shortcuts follow familiar conventions, so they should feel intuitive if you’ve used other design or analysis software. As you get comfortable with them, hot keys can noticeably speed up your workflow, especially when you’re making repeated edits or working through iterations.
This section lists the available hot keys and explains what each one does so you can decide which shortcuts make the most sense for your workflow.
Hot Key | Action |
|---|---|
a | Draw Plate |
b | Draw Beam |
w | Draw Bearing Wall |
d | Draw Diaphragm |
s | Draw Shear Wall |
l | Draw Shear Line |
m | Move Selected Item |
r | Resize Selected Item |
+ | Zoom In (Box area) |
Middle Mouse- Roll | Zoom In focused on mouse location |
- | Zoom Out (Box Area |
p | Pan |
Middle Mouse- Hold | Pan |
f | Full Screen Zoom |
c | Scale |
Ctrl-c | Copy the selected items |
Ctrl-v | Paste the items in clipboard |
Ctrl-z | Undo |
Esc | Clear All selected items |
Snap Tools- Shift (Hold)
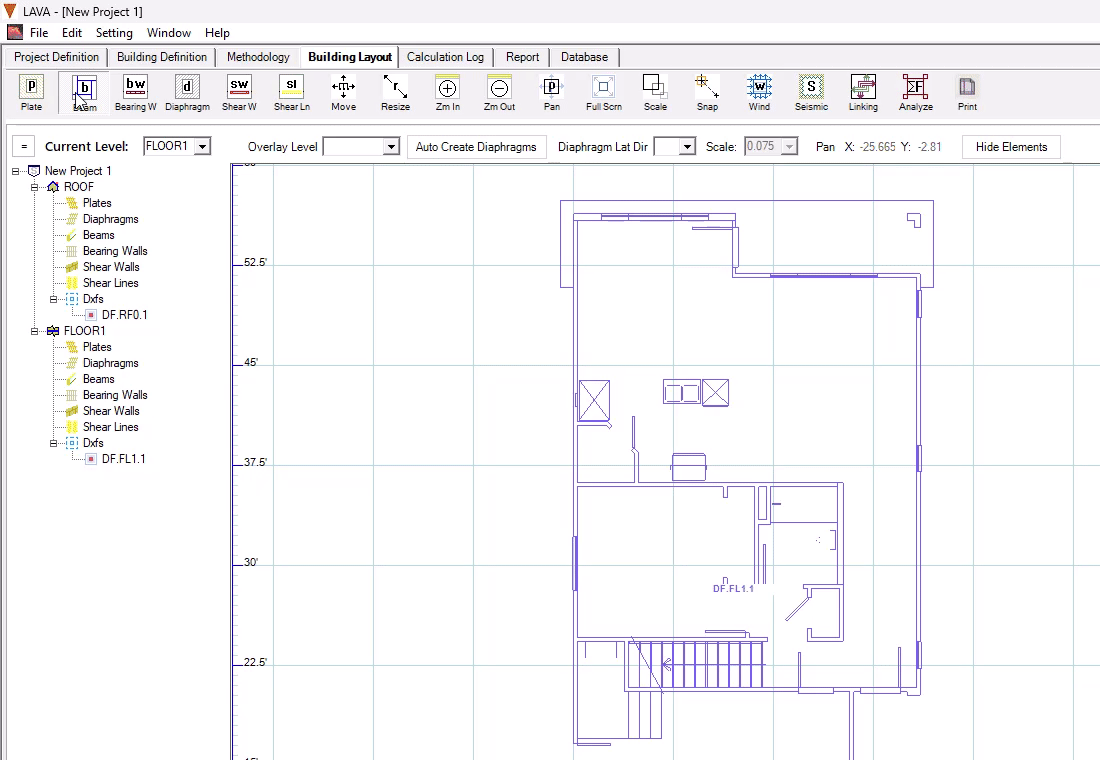
Snap is activated by holding the Shift key and helps align elements to your DXF geometry. How snapping behaves depends on the type of element you’re placing.
For plates, diaphragms, and shear walls, snap will lock directly to any DXF intersection. This makes it easy to trace and align these elements precisely with the background drawing.
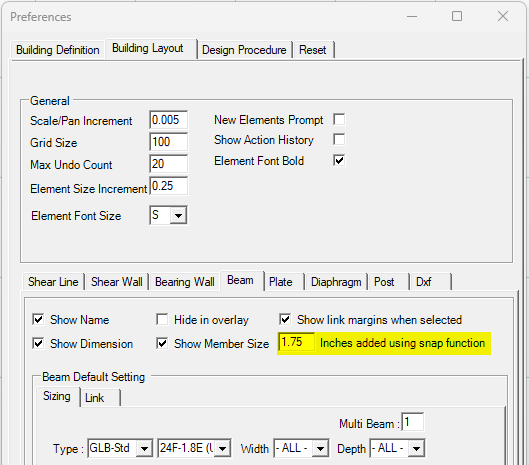
For beams, snapping works a little differently. A built-in tolerance allows the beam to snap to opening edges in the DXF rather than requiring an exact intersection. When a beam snaps to an opening, the program will automatically adjust the header width based on the dimension set in Settings- Preferences- Building Layout- Beam tab.
See the snap tool in action here:
Right Click Menu
The Right Click menu is context based which means it changes based on where you click it and what is selected or not selected.
No elements selected- Right Click in Building Layout
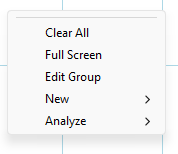
Clear All- This will clear all the selections
Full screen- This will zoom to the extents of the building.
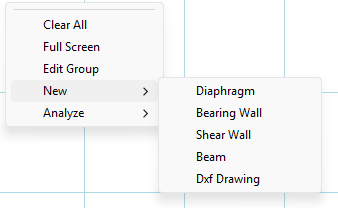
New > This allows you to draw New elements in the model.
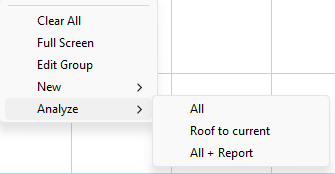
Analyze > All - This will analyze the total building all floors.
Roof to current- This will start analysis at the roof level and go only to the level in view.
All + Report- This will run the total building and refresh the Report.
Select elements- Right Click in Building Layout
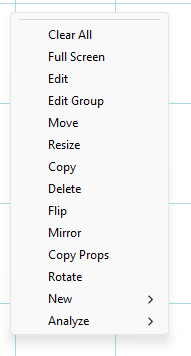
Clear All- This will clear all the selections
Full screen- This will zoom to the extents of the building.
Edit - This will open the element that the mouse is closest too.
Edit Group- This will open a group of elements. If a mixed group is selected, the elements that will open will be based on the closest to the mouse.
Move, Resize, Copy, Delete, Flip, Mirror - These tools will modify the selected items.
Copy Props- this will copy properties from one element to another element.
New > This allows you to draw New elements in the model.
Analyze > All - This will analyze the total building all floors.
Roof to current- This will start analysis at the roof level and go only to the level in view.
All + Report- This will run the total building and refresh the Report.
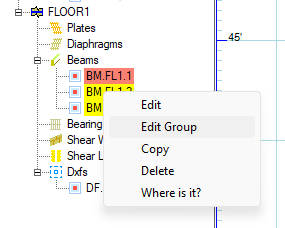
Selected Elements- Right Click in Project grid (left side of screen)
This will allow you to access the Edit Group- and depending on where the mouse is hovering over- that is what will be edited.
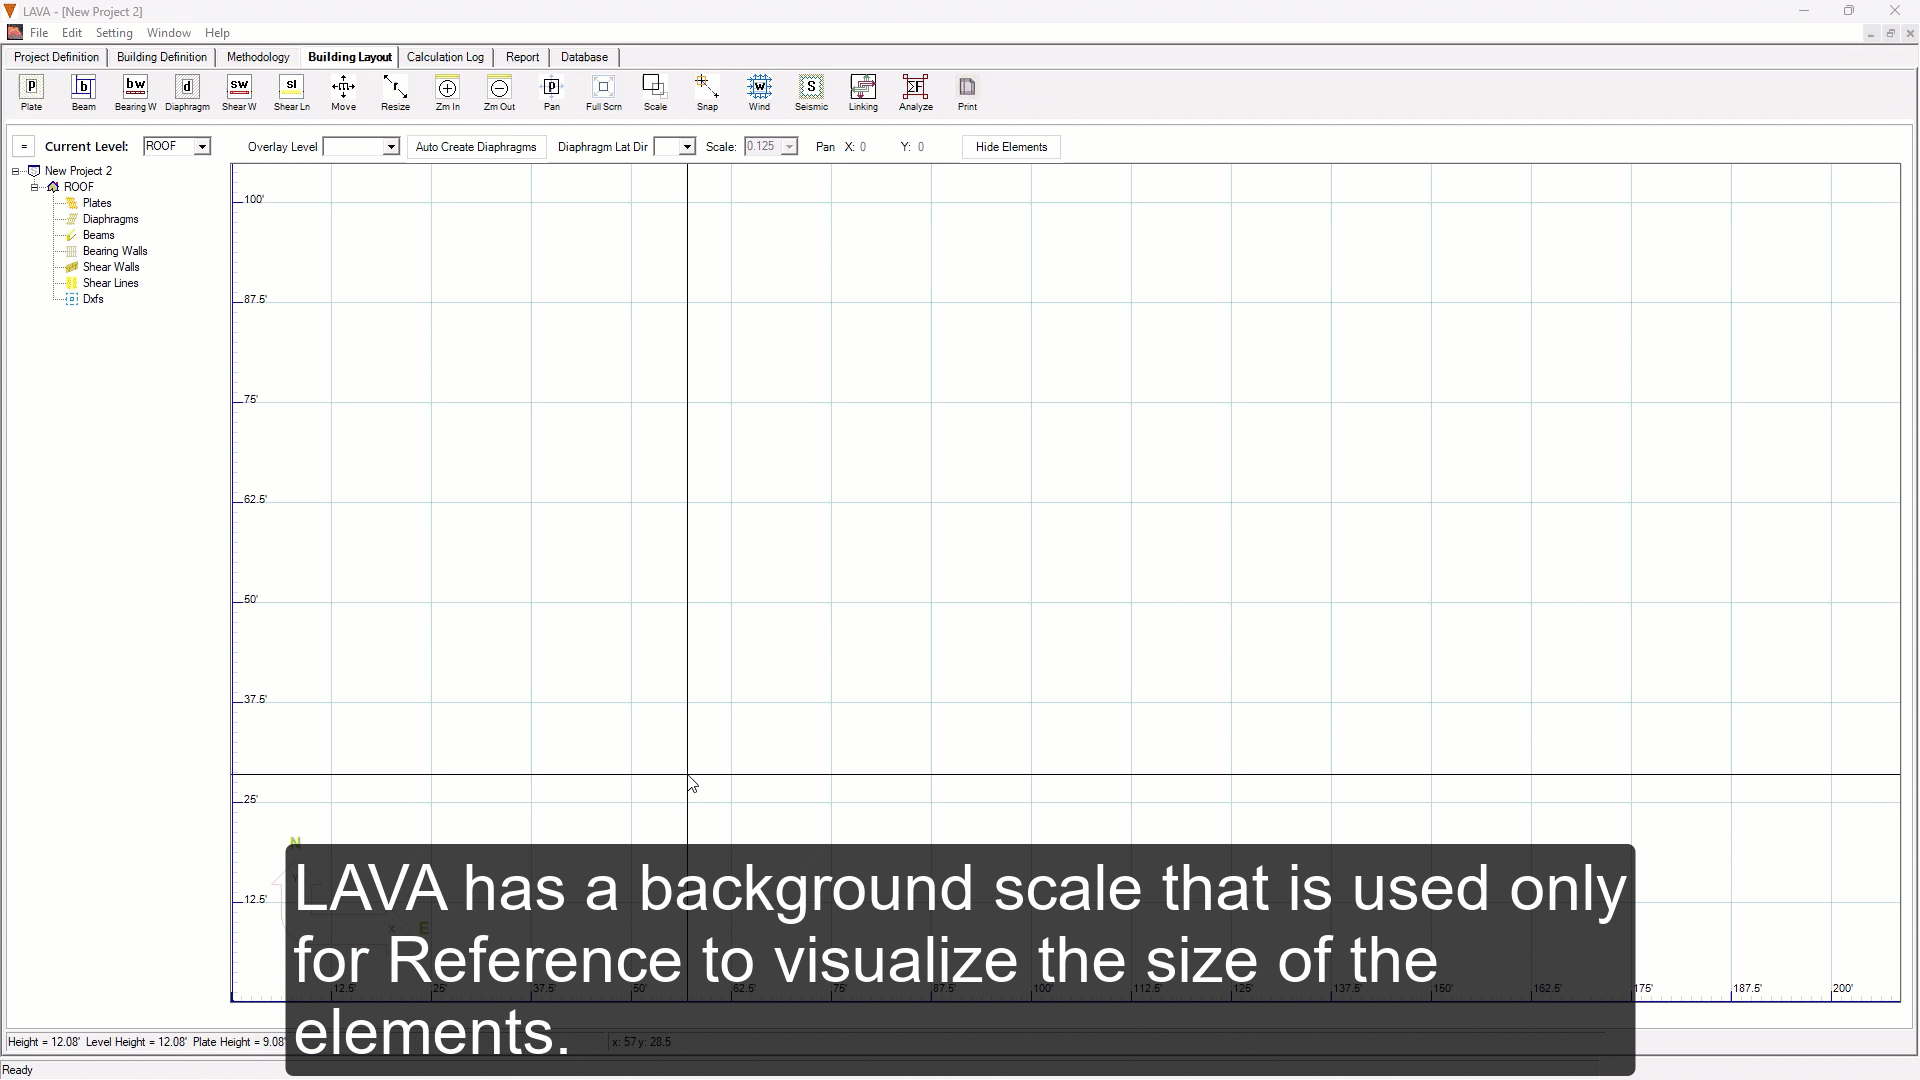
Scale
The Scale button will help you visualize the size of the walls. These are not for snapping the drawing, only for reference lines.